Learn How to Price Your Artwork!
As an Artisan I have always felt a bit intimidated by the process of pricing my artwork, to be sold in a myriad of places. Be it online in my own e-commerce website, or online through a third party gallery. A big one, such as DeviantArt.com Or a small scale one such as an online local artist registry.
'How much do I price my art for hanging in a local gallery?'
Seemed to be a question that was haunting me. I need to sell my artwork and during this economic depression, I need to eat too. So, back the question of pricing my work for a gallery (The sad reality on the ridiculous prices galleries charge,
example, here in Southern Oregon, I inquired at a new gallery downtown, only to find that they charge a $50 hang fee per piece and 40% commission upon sale. &#*&$#^). The math does not add up here.
But I digress. So how much do we struggling artists charge for our hard earned pieces? After all the gallery did not put it's blood sweat and tears into the piece..... sooo. I have struggled with this issue in so much as to loose sleep over it. (I know, a bit to extreme, I needed to find some balance and control.)
Upon doing a bit of research I have found a couple of really good websites that helped me to figure out what to charge per piece, per square inch and in what environment. Yippie!!
Huge Credit to them for the original research.
18 Dec 2009
by Lori Woodward
http://mariabrophy.com/
How to price your original artworks
__________________________________________________________________
www.scrappycraft.com
shop.scrappycraft.com
How to Price Your Original Artworks
How to Price Your Original Artworks


.JPG)
.JPG)
.JPG)
.JPG)


 If you are like me, I have spent quite a bit of money on my wonderful Pastels, yet did not know how to keep them clean. My wonderful boss De informed me of her way of cleaning her Pastels. Clean them with flour! Yes, add just a bit of rice flour to a plastic container, and place your pastels in the flour, and gently shake/agitate the plastic container until you see that your little Pastel sticks are all clean. Works like a charm.
 "Before rubber erasers, tablets of rubber or wax were used to erase lead
or charcoal marks from paper. Bits of rough stone such as sandstone or pumice
were used to remove small errors from parchment or papyrus documents
written in ink. Crustless bread was used as an eraser in the past; a Meiji-era
(1868-1912) Tokyo student said: "Bread erasers were used in place of
rubber erasers, and so they would give them to us with no restriction on
amount. So we thought nothing of taking these and eating a firm part to
at least slightly satisfy our hunger."[1]
"Before rubber erasers, tablets of rubber or wax were used to erase lead
or charcoal marks from paper. Bits of rough stone such as sandstone or pumice
were used to remove small errors from parchment or papyrus documents
written in ink. Crustless bread was used as an eraser in the past; a Meiji-era
(1868-1912) Tokyo student said: "Bread erasers were used in place of
rubber erasers, and so they would give them to us with no restriction on
amount. So we thought nothing of taking these and eating a firm part to
at least slightly satisfy our hunger."[1] http://en.wikipedia.org/wiki/Eraser


.JPG)
.JPG)

 Have you had this happen?
 or as seen better in this image by
.JPG)

 When Card making we usually get all excited in designing and creating the card we forget the envelope. The envelope is an excellent place for accenting with additional embellishments, & Distressing.
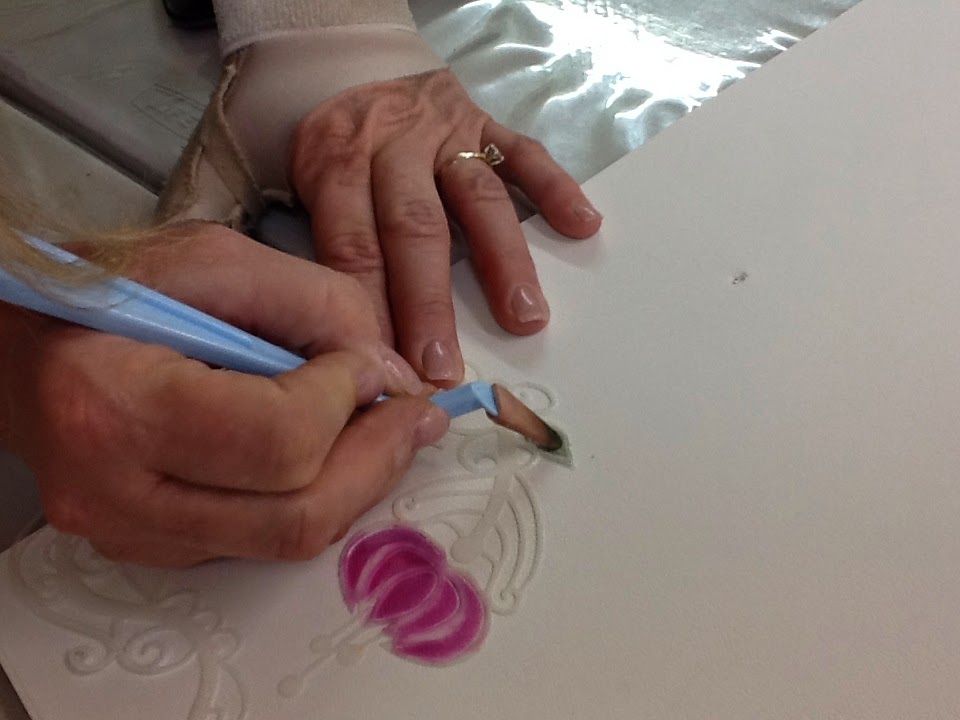
 Ink the edges of photos to distress and make the images pop!
 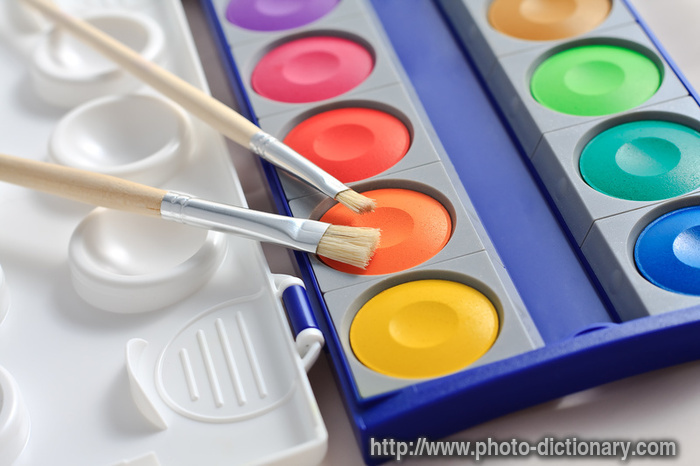 Watercolors Dry Lighter
 Use a Variety of Line:
 Blot your Brushes


.JPG&container=blogger&gadget=a&rewriteMime=image%2F*)

